Bathroom sealant can look perfectly ordinary while a small gap allows water to reach places you cannot see. A lifted edge beside the bath or a split in a shower corner may let repeated splashes reach the wall or floor beneath. By the time paint blisters or a musty smell develops, the problem may extend beyond the sealant.
Bathroom sealant maintenance is therefore about spotting changes early, cleaning without damage and recognising when replacement is more sensible than another scrub. You do not need specialist equipment to make useful checks, but you do need to know which signs matter.
Start With the Joints That Get Wet
Inspect where the bath meets the wall, where the shower tray meets tile, around a basin and along shower-screen edges. These are common places for movement and repeated water exposure. Check when the area is dry, using good light, and follow the entire bead rather than looking only at its centre.
Corners, joints behind taps and areas where water collects deserve extra attention. During bathroom seal checks, look for an uninterrupted line that remains attached to both surfaces.
Know the Early Warning Signs
Watch for gaps at the tile edge, peeling or curling ends, cracks across the bead, missing sections and sealant that appears to have shrunk. Discolouration alone does not prove a leak. However, staining accompanied by separation, softness or recurring dampness deserves investigation.
Do not pull at sound silicone to test its grip. Inspect lifting that is already visible. If one edge has detached, the joint may no longer form a continuous barrier against splashes.
Clean Silicone Gently and Regularly
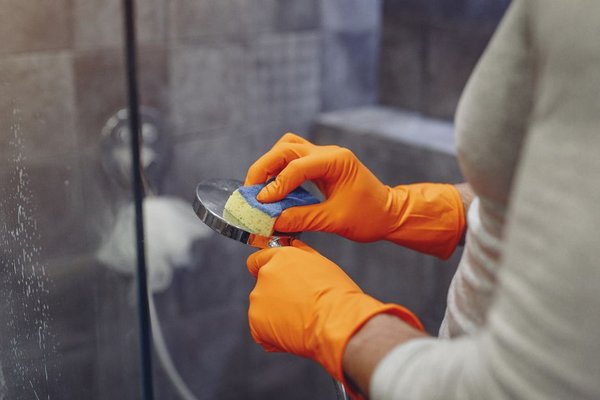
For routine silicone sealant maintenance, wipe the bead with a soft cloth or sponge, warm water and a mild cleaner suitable for the surrounding finish. Rinse soap residue and dry the joint. Removing the surface film also makes it easier to notice fresh cracks or staining.
Avoid metal scrapers, stiff brushes and abrasive pads on intact sealant. They can damage its surface or edges. Follow both the sealant and surface manufacturers’ instructions before using strong mould removers or bleach-based products, especially around natural stone. Never mix cleaning chemicals.
Wiping water from shower corners and improving ventilation can reduce prolonged dampness. Simple bathroom ventilation tips are worth following if condensation regularly lingers after a shower.
What About Black Marks?
Some dark deposits wash away; staining embedded in older silicone may remain. A black mark is not automatically evidence of water behind the tiles. Consider the condition of the whole bead and whether the area dries normally.
If mould keeps returning, or the material is cracked and peeling, replacement may be more effective than aggressive cleaning. Widespread mould or damp in adjacent porous materials calls for attention to the moisture source as well.
Distinguish a Tired Look From a Failed Seal
A slightly yellowed line can still work if it is continuous and firmly bonded. By contrast, a bright, clean-looking bead may fail where it lifts away from the bath. Loss of adhesion at an edge and a split through the silicone can both create openings.
Imagine spotting a short loose section where the shower tray meets the wall. Pressing a dab of ordinary silicone over it might hide the opening, but moisture and soap trapped underneath can prevent a dependable repair. Avoid directing shower water at the damaged joint until you can assess and fix it properly.
When Resealing Makes More Sense
Resealing bathroom joints is generally appropriate when silicone is peeling, missing, split or extensively deteriorated. Conventional new silicone does not reliably bond over old cured silicone. Specialised refurbishment products do exist for suitable existing seals, but they must be used exactly as specified and are not a cure for hidden water damage.
For a standard replacement, carefully remove the failed bead using tools safe for the bath, tray or tile. Clear old residue and soap film. The exposed surfaces must be clean, sound and thoroughly dry before applying fresh sealant; sealing over trapped moisture can lead to further trouble.
Select a bathroom-grade product compatible with both joint surfaces. Some plastics, natural stones and other finishes need specific formulations. Apply a continuous bead that contacts both sides, and smooth it within the manufacturer’s working time. Follow the cartridge instructions for preparation, ventilation, curing and water exposure.
Water-ready times vary widely between products; do not assume that a fast-curing claim on one tube applies to another. If a bathtub moves noticeably when filled or used, consult its installation guidance before resealing the junction.
Look Beyond the Visible Silicone
Ask why the old seal failed. Movement, unsuitable products, wet surfaces during application and ongoing leaks may all contribute. Cracked grout farther up the wall can also provide a separate route for water, so repairing damaged grout may be part of the solution.
Check for swollen skirting, loose tiles, soft flooring, bubbling paint or persistent musty smells. These suggest moisture may have reached concealed materials. Simply laying a new bead over the joint will not repair a leaking pipe, defective waste connection or failed waterproofing beneath tiles.
When dampness returns after the area has dried, finding the source of a bathroom leak may require a plumber or another appropriate tradesperson. Address the cause before completing cosmetic repairs.
A Quick Routine That Helps Catch Problems
During regular bathroom cleaning, scan the wettest joints and wipe away standing water. Periodically inspect the full length for lifting, cracks and changes in colour. Do an additional check after any unusual leak or prolonged dampness.
One practical trick is to photograph a questionable corner after cleaning and drying it. Compare the same spot at your next inspection. A growing gap is easier to identify from two clear photographs than from memory, and it helps you decide when action is needed.
Frequently Asked Questions
How often should bathroom sealant be checked?
Give frequently wet joints a quick look during routine cleaning, with a more thorough inspection periodically. Check immediately when you notice a new gap, persistent dampness or peeling.
Can mouldy silicone be cleaned instead of replaced?
Light surface growth may clean off with suitable products and improved moisture control. Deep staining combined with damaged or detached sealant often makes replacement the better option.
Can you put new silicone directly over old silicone?
Ordinary silicone over a failed existing bead is generally unreliable. Remove the damaged material and prepare the joint properly, unless using a specialist over-seal product according to its instructions on a suitable underlying seal.
How long must a resealed shower stay dry?
Follow the exact sealant label. Safe water-exposure times and full-cure periods vary with the formulation, joint dimensions and conditions.
Keep the Seal Working, Not Just Looking Clean
Consistent bathroom sealant maintenance is a small task with a useful payoff: fewer unnoticed gaps where splashes can enter. Clean gently, watch for loss of adhesion, reseal failed joints properly and investigate dampness that persists beyond the silicone. A neat-looking bead matters less than a sound, continuous barrier.